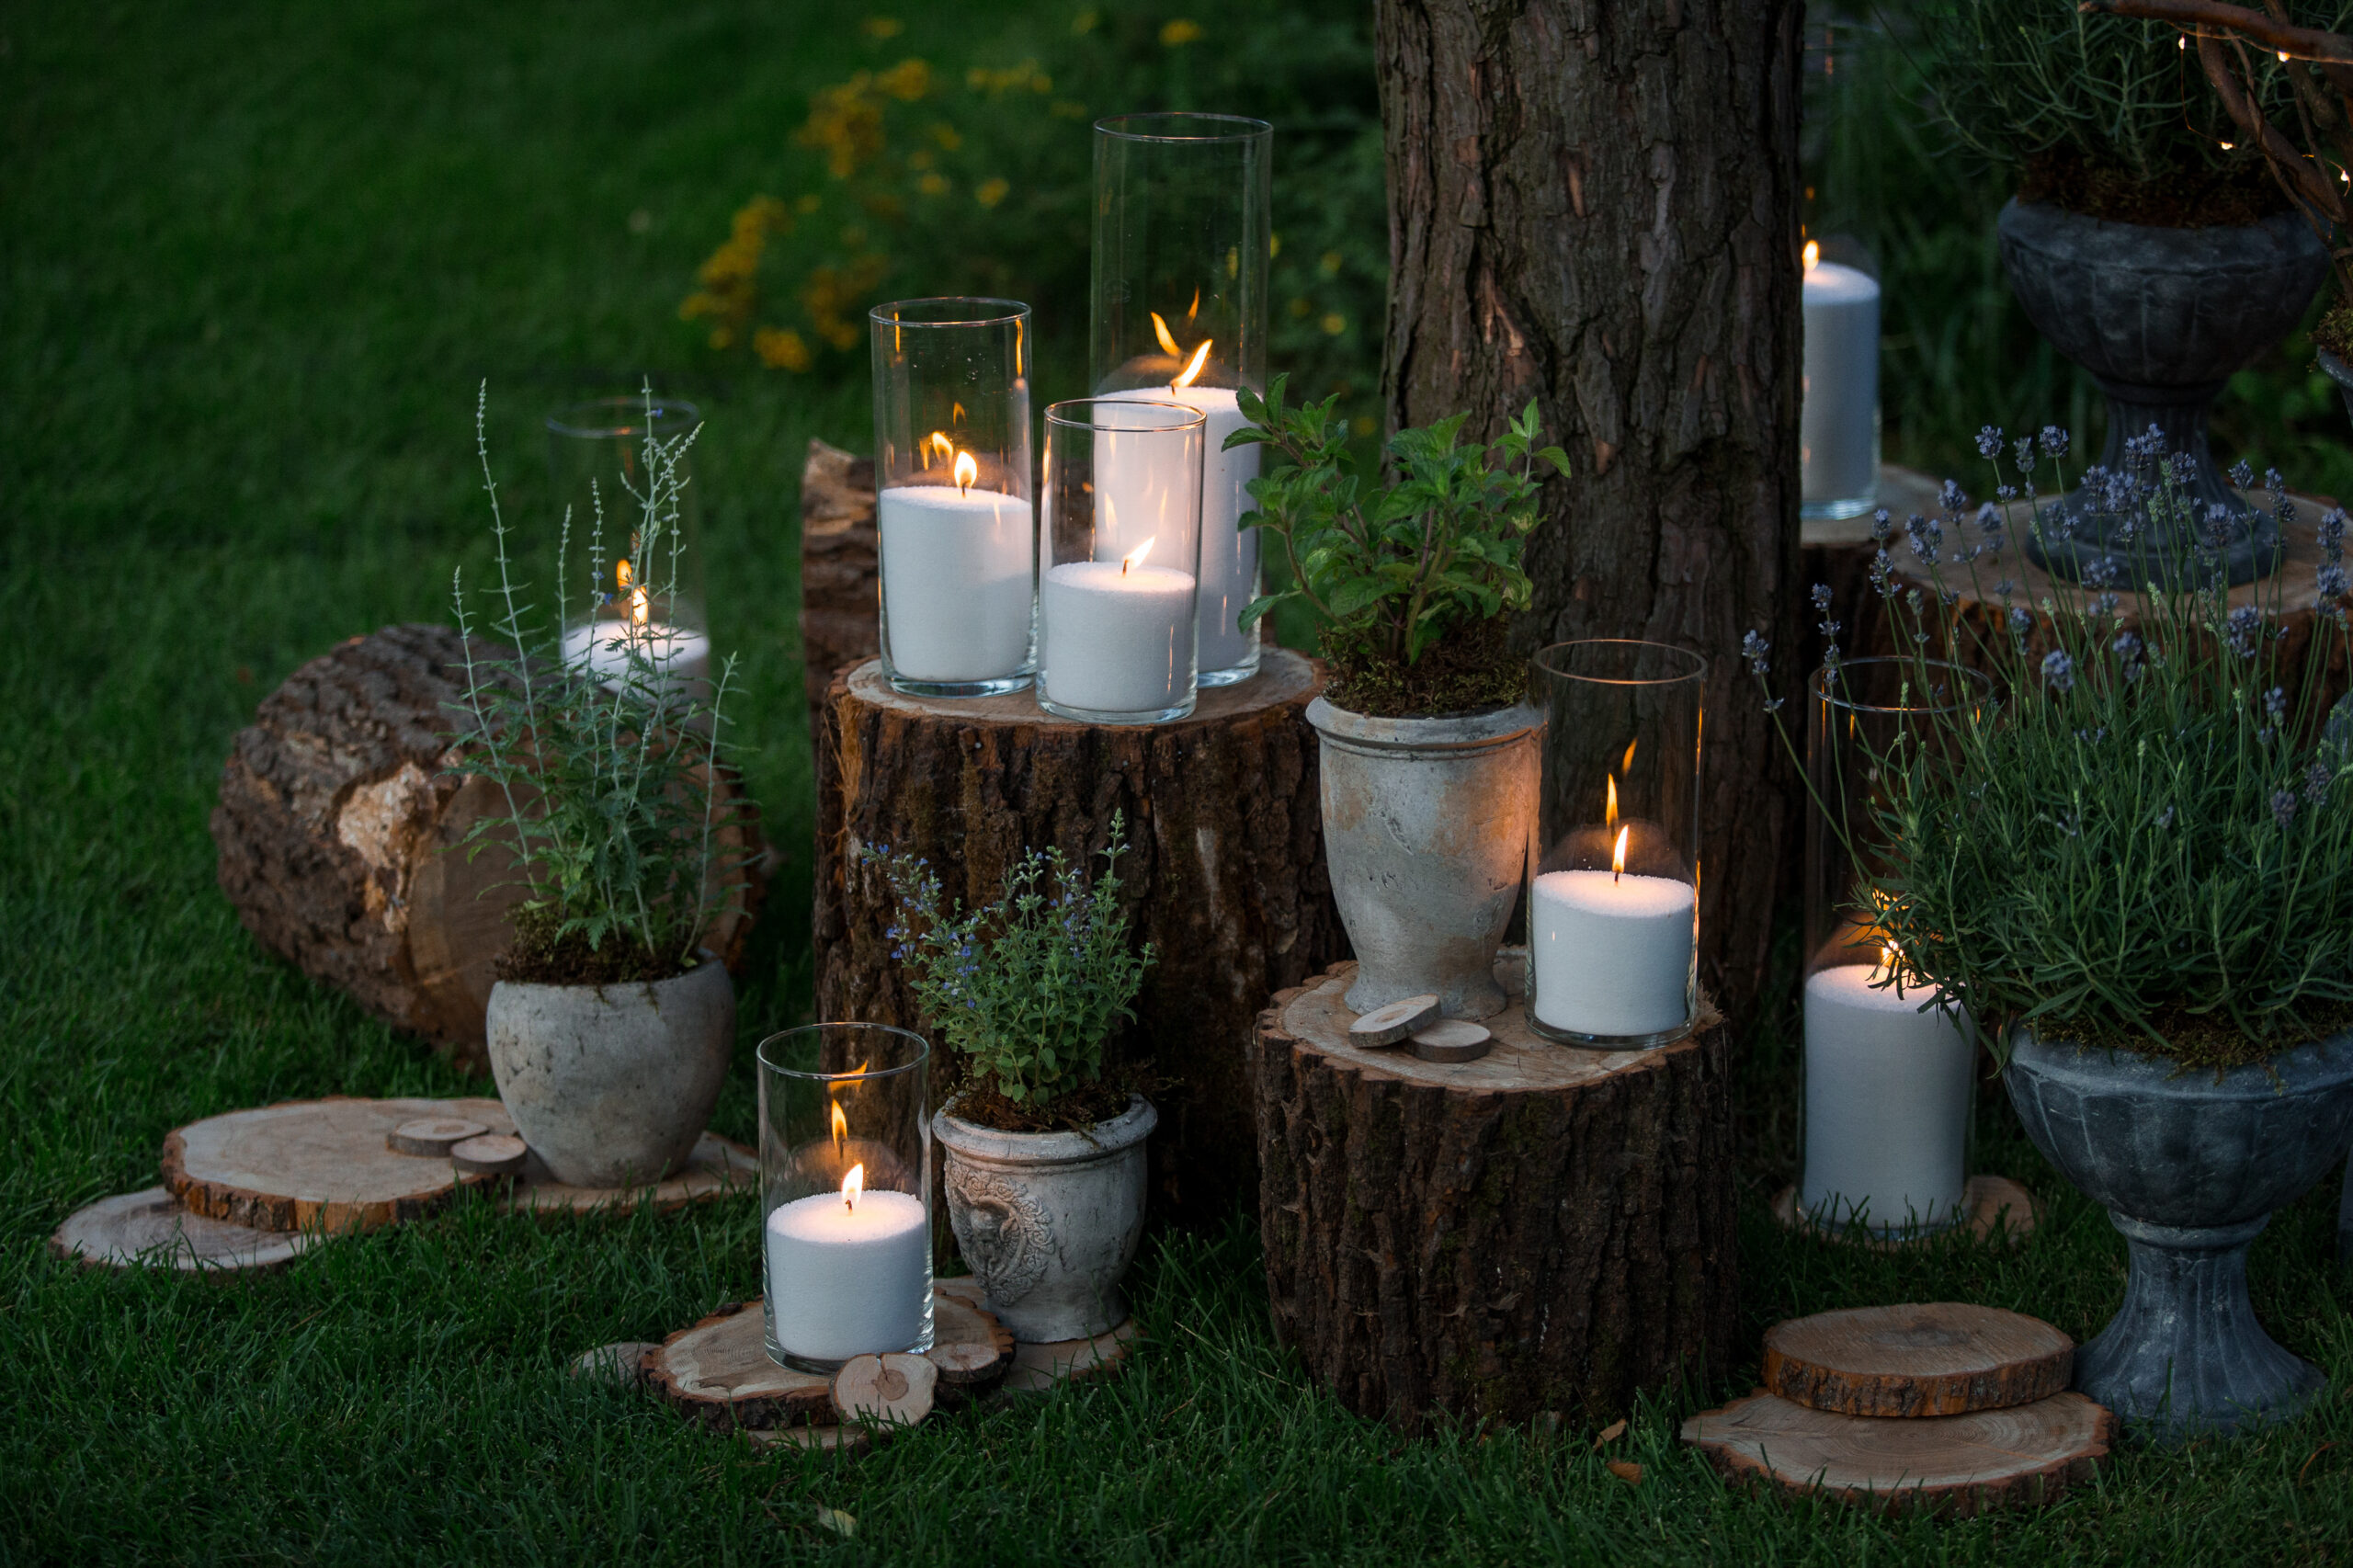
Imagine a warm summer evening on your patio, the sun setting in a blaze of colors, and you’re surrounded by the soft, flickering glow of handmade candles. These candles not only add a cozy ambiance but also keep pesky bugs at bay. Sounds perfect, right? Let’s dive into the world of DIY outdoor candle projects and transform your outdoor space into a serene oasis.
Why DIY Outdoor Candles?
There’s something incredibly satisfying about creating something with your own hands. DIY outdoor candles are no exception. They offer a unique blend of creativity and functionality. Plus, they can be customized to suit your style and needs. Whether you’re looking to add a touch of elegance to your garden or seeking a natural way to repel insects, making your own outdoor candles is a rewarding and enjoyable project.
Getting Started: What You’ll Need
Before we get into the nitty-gritty of candle making, let’s gather all the materials you’ll need:
- Wax: Soy wax is a great choice for outdoor candles due to its clean burn and ease of use.
- Wicks: Choose cotton or wood wicks, depending on the desired aesthetic and burn.
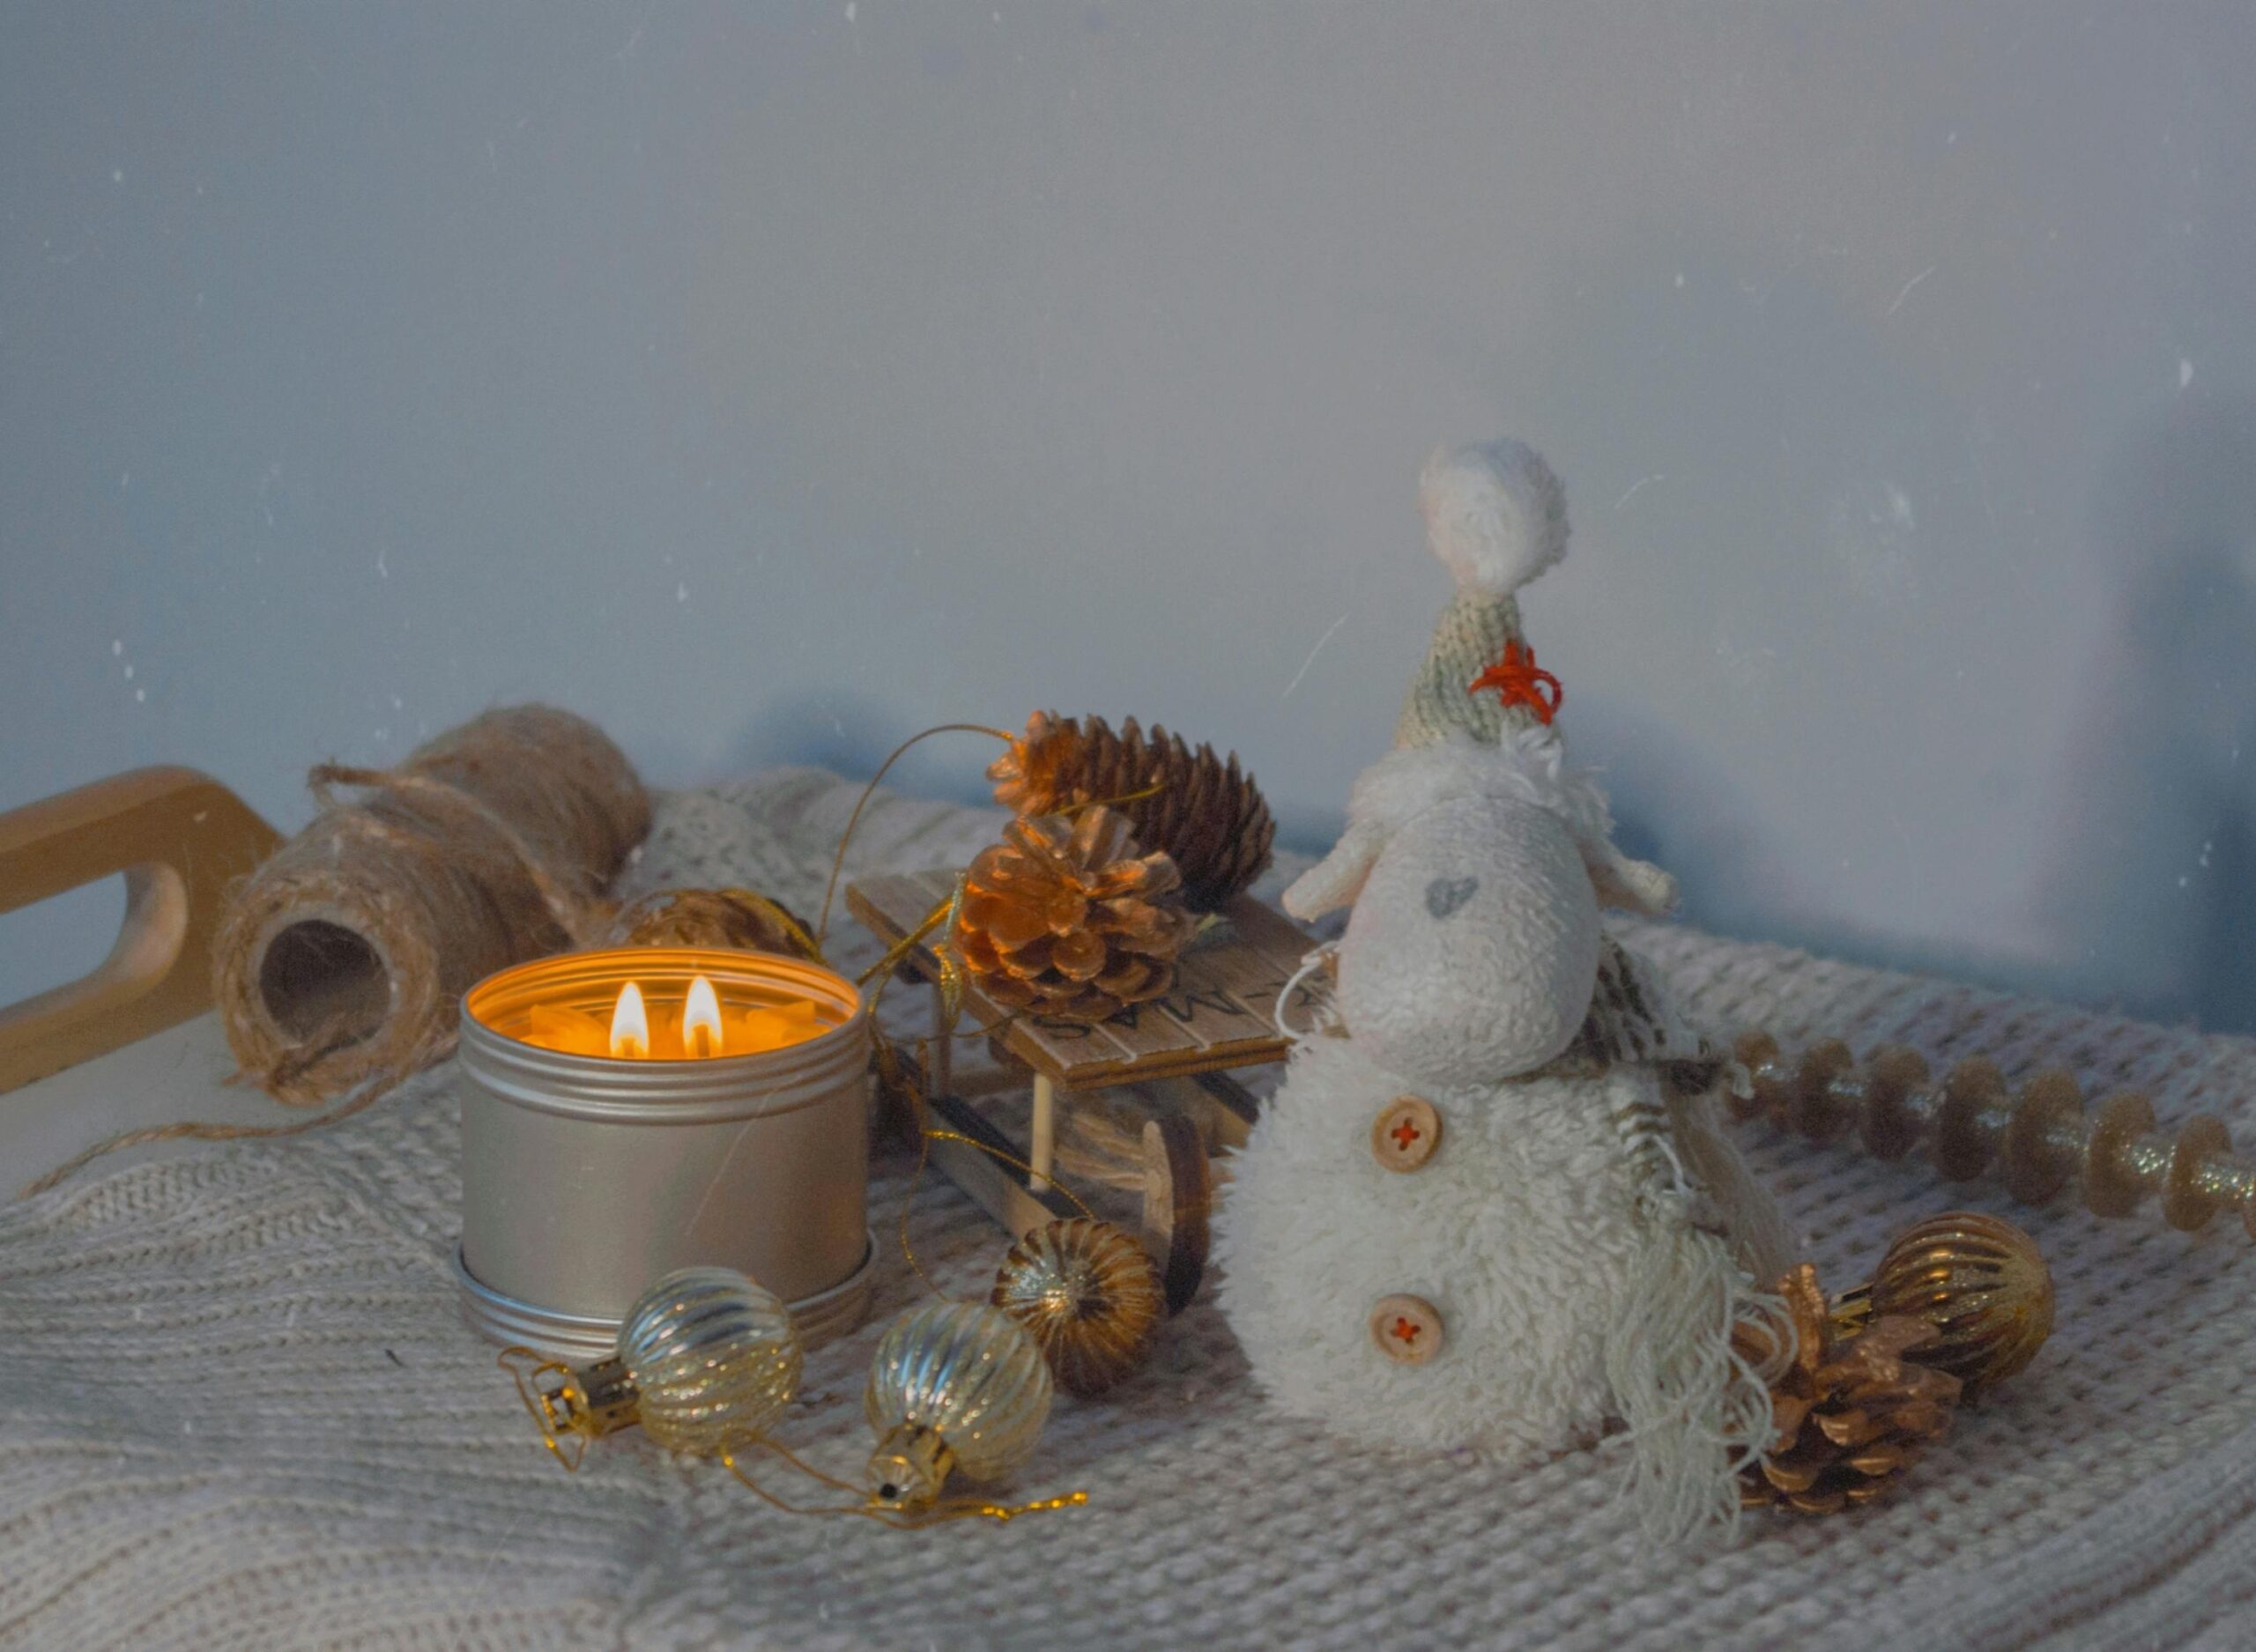
- Containers: Mason jars, tin cans, or even teacups can be used as candle holders.
- Essential Oils: Citronella, eucalyptus, and lavender are excellent for repelling bugs.
- Coloring: Optional, but a fun way to match your candles to your outdoor decor.
- Double Boiler: For melting the wax safely.
- Thermometer: To ensure the wax is at the right temperature.
- Stirring Utensil: A wooden stick or spoon will work.
Step-by-Step Guide to Making Your Own Outdoor Candles
Step 1: Prepare Your Work Area
Cover your workspace with newspaper or a drop cloth to catch any spills. Arrange your supplies so they’re easy to reach.
Step 2: Melt the Wax
Using a double boiler, melt the wax slowly. Keep a close eye on the temperature; soy wax should be melted to about 185°F (85°C).
Step 3: Add Fragrance and Coloring
Once the wax is melted, remove it from heat and let it cool slightly. Add essential oils (about 1 ounce per pound of wax) and any coloring you wish to use. Stir well to ensure the fragrance and color are evenly distributed.
Step 4: Prepare the Containers
While the wax cools, prepare your candle containers. Place the wicks in the center of each container. You can use a dab of hot glue to keep the wick in place or tie the wick around a pencil laid across the top of the container to keep it centered.
Step 5: Pour the Wax
Carefully pour the melted wax into the prepared containers, leaving about half an inch of space at the top. Make sure the wick remains centered as the wax sets.
Step 6: Let the Candles Set
Allow the candles to cool and harden completely. This can take several hours. Once set, trim the wicks to about ¼ inch.
Crafting Citronella Candles: The Ultimate Bug Repellent
Citronella candles are a must-have for any outdoor space during the summer months. Here’s a quick recipe to make your own:
- Materials Needed: Soy wax, citronella essential oil, wicks, containers.
- Instructions:
- Follow the same melting, fragrance, and pouring process as above, but use citronella oil as your essential oil.
- Citronella oil is potent, so about ½ ounce per pound of wax should suffice.
- Pour, set, and trim as usual.
Creative Variations for Your DIY Outdoor Candles
Once you’ve mastered the basics, the possibilities are endless. Here are some ideas to get you started:
- Decorative Elements: Add dried flowers, herbs, or seashells to your candles for a personalized touch.
- Layered Colors: Create a layered effect by pouring different colored waxes in stages.
- Scent Blends: Mix different essential oils to create unique fragrance combinations.
Final Thoughts
Making your own outdoor candles is not just a fun DIY project but also a wonderful way to enhance your outdoor living space. Whether you’re crafting citronella candles to keep the bugs at bay or creating beautiful decorative pieces for your garden, the process is simple and the results are rewarding. So, gather your materials, unleash your creativity, and let the candle-making begin!